Facials offer some of the loveliest of reprieves from daily life. Exfoliating, moisturizing and relaxing, facials not only make your skin feel flawless, but they help you wind down. The best part is that you don’t have to go to a spa to take care of your skin and give yourself some space. Sit back, relax and watch your skin glow – here are a few things to get you started with your at-home facial.
Cleanse First
Every facial begins with a deep cleanse of the skin so that your face is fresh. Take off any makeup and start with an oil-based cleanser to remove dead skin and excess makeup. Rinse thoroughly and then wash again with a cream-based face wash to remove oil. Making the skin facial-ready, the double-cleanse method will give you fresh skin to pamper.
Remove Dead Skin
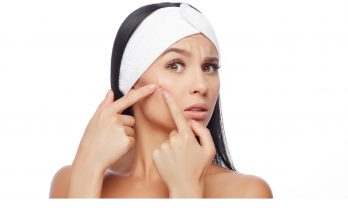
Exfoliation is one of the most important parts of your facial. Without regular exfoliation, pores can stretch from holding excess oil and dead skin cells. Additionally, when you remove the top layer of cells, the other products can more readily absorb into the skin for best results. Before you move onto other steps in your facial, exfoliate with an enzyme-based cream or with a physical exfoliator. Generally, enzyme-based exfoliating products leave the skin brighter and remove the skin more gently. Be careful not to over exfoliate, just find a product that works for your skin and gently apply. Once you’ve removed the top layer of skin, you can move into the next steps.
Use Steam
Heat and steam help to open up the pores to bring out anything trapped underneath. Boil some water on the stove to sterilize, then let it cool down. Once it’s cooled but still slightly steaming, move your face above it with a towel over your head. Breathe and relax as you feel the steam start to sweat the skin.
Mask Time
Now that your skin is clean and open to absorb more readily, it’s time to put your mask on. When choosing a mask, find one that works with your specific needs. If you need oil control, find a clay-based mask like Osea’s Red Algae Mask. If you’re looking for fine line reduction or hydration, use a cream-based option that’s created for anti-aging. The most important part of choosing a mask involves finding one that will help with your specific skin type and its needs.
The Finishing Touches
After you’ve allowed your mask to sit for the amount of time recommended on the packaging, rinse thoroughly – at least 20 seconds. Pat dry, then moisturize and massage. Place your favorite lotion on the skin as you massage gently with your fingers or jade roller. Take a few moments to breathe deeply and admire your perfectly polished skin!